
It has been awhile since I have made a peanut butter cookie, and I have found myself craving them, per usual, at the beginning of September, when school is back in session. It’s probably due to peanut butter sandwich nostalgia (because wow, I ate a lot of those over my school career), but whatever the reason, I really want a peanut butter cookie.
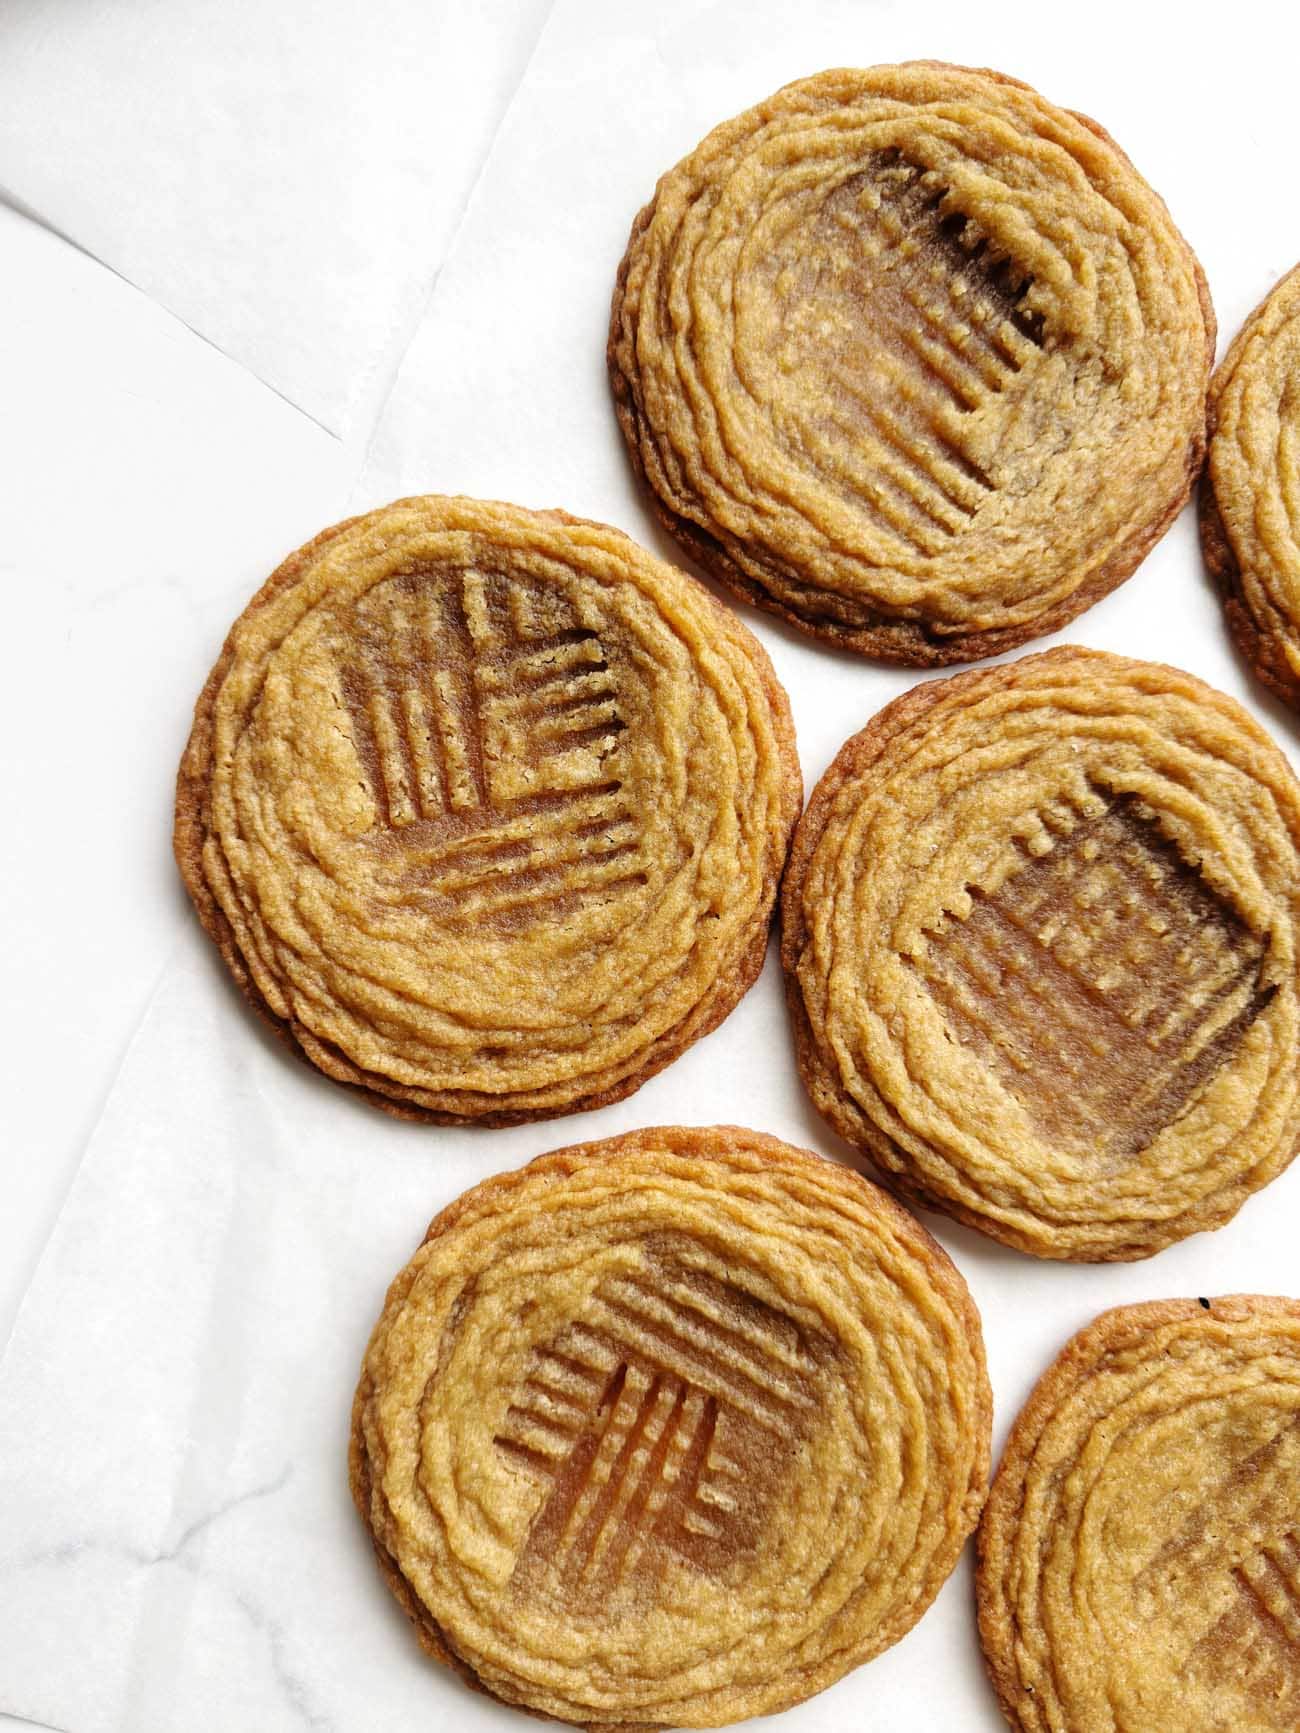
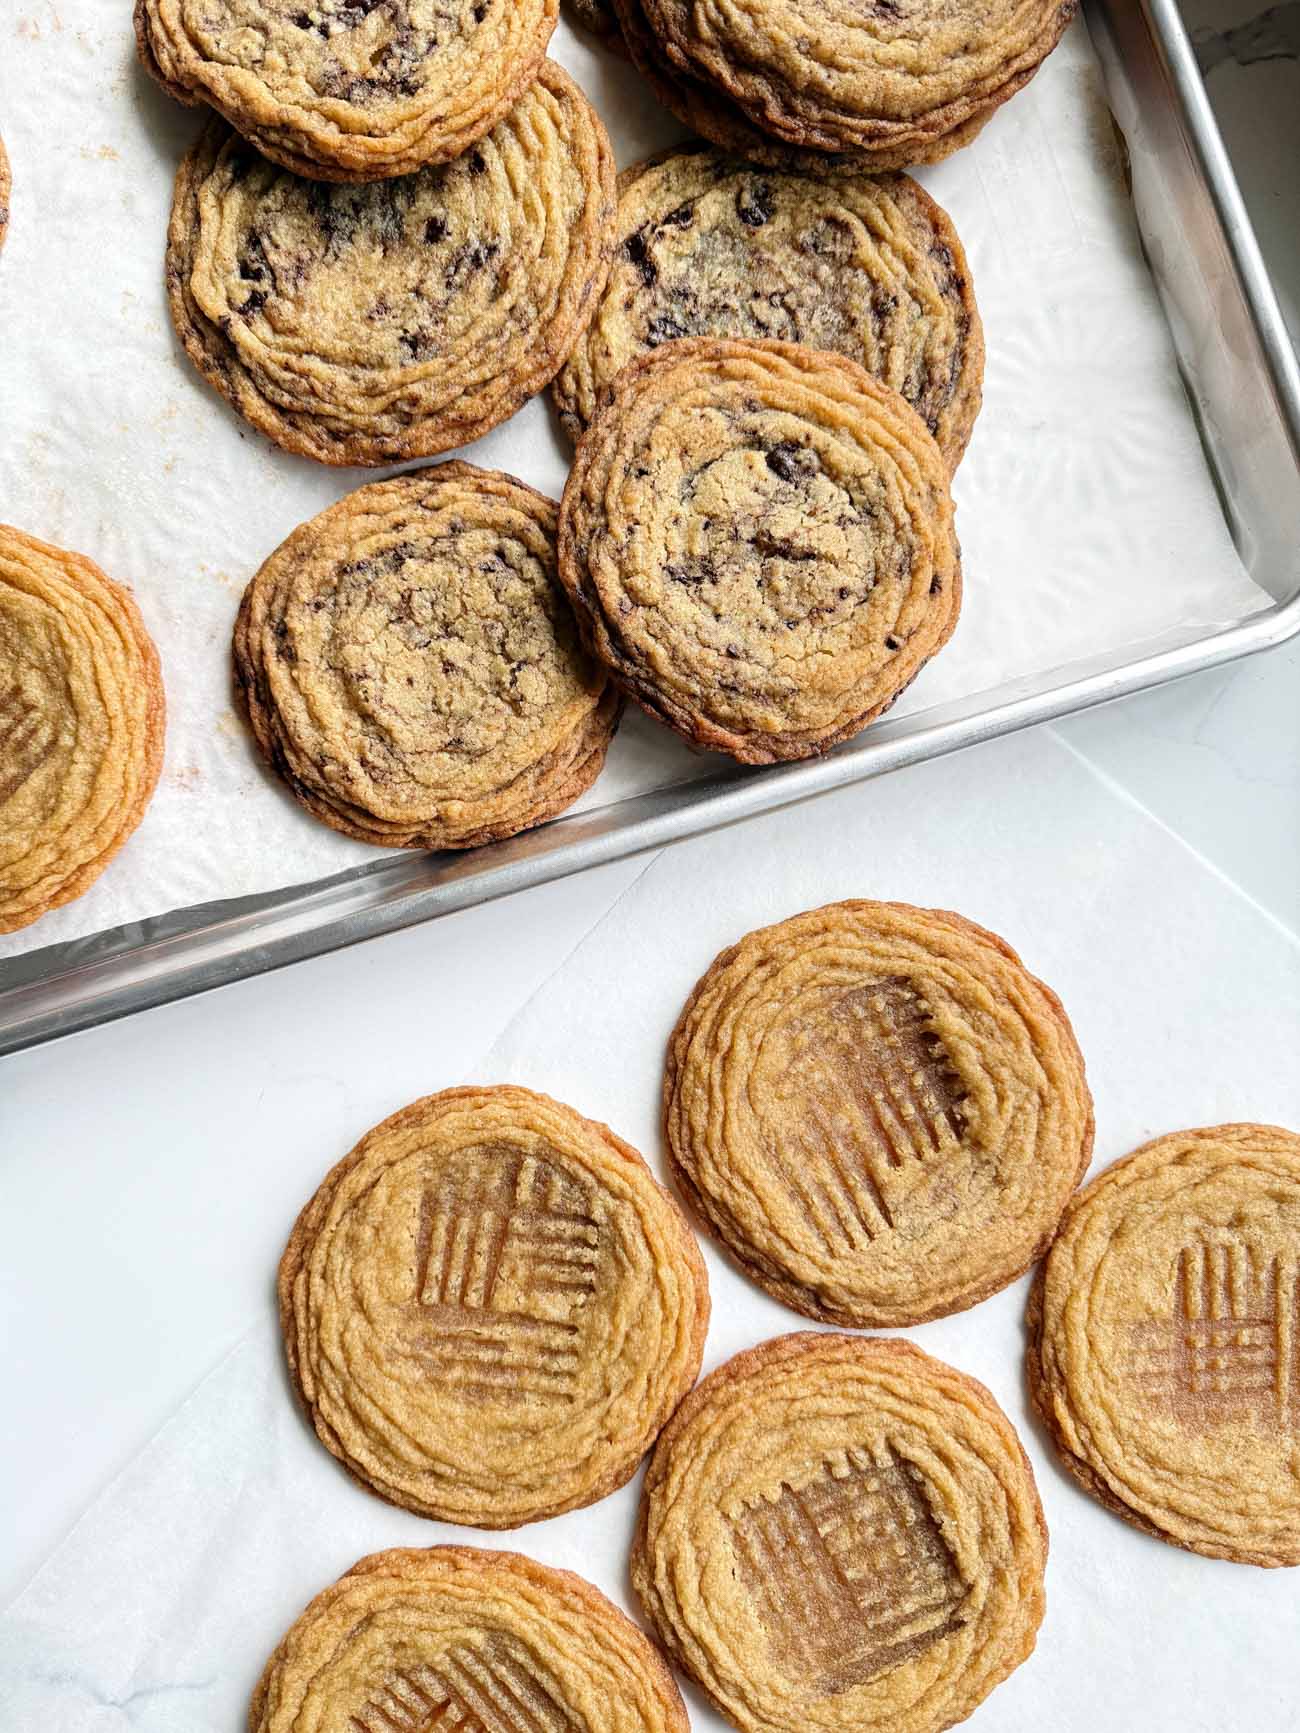
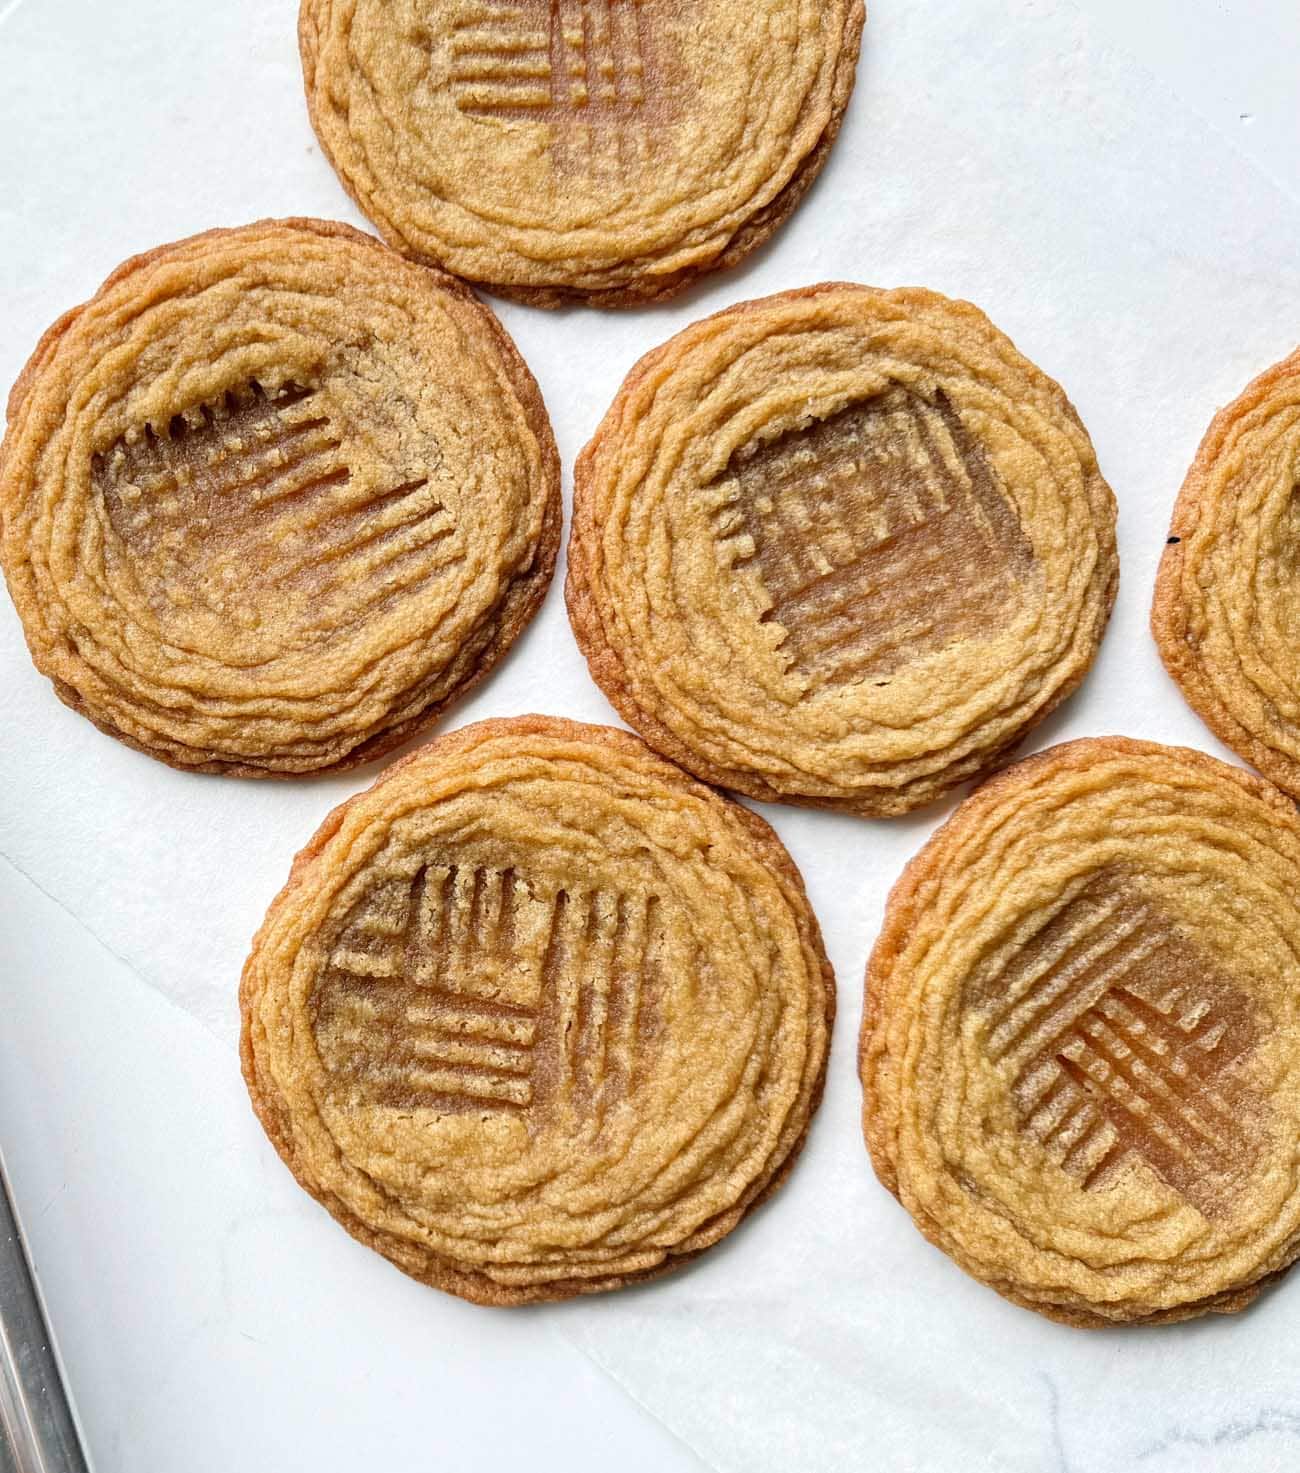
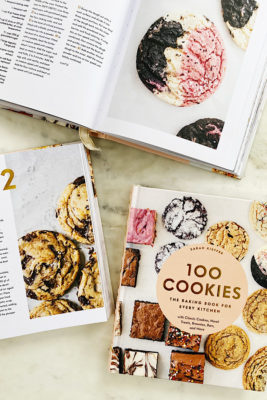
I revamped my pan-banging peanut butter cookie from 100 Cookies; the original recipe includes a little almond flour and a minimal amount of peanut butter. I was out of almond flour and wanted more peanut butter flavor, so I started tinkering with these. My main goal was to keep the crispy edges the pan-banging technique is known for, especially in my Pan-Banging Chocolate Chip Cookies; however, peanut butter tends to make things chewy. Moving the cookies to a wire rack to finish cooling helped keep the edges nice and crisp, while the center stayed chewy and moist.
Adding Inclusions
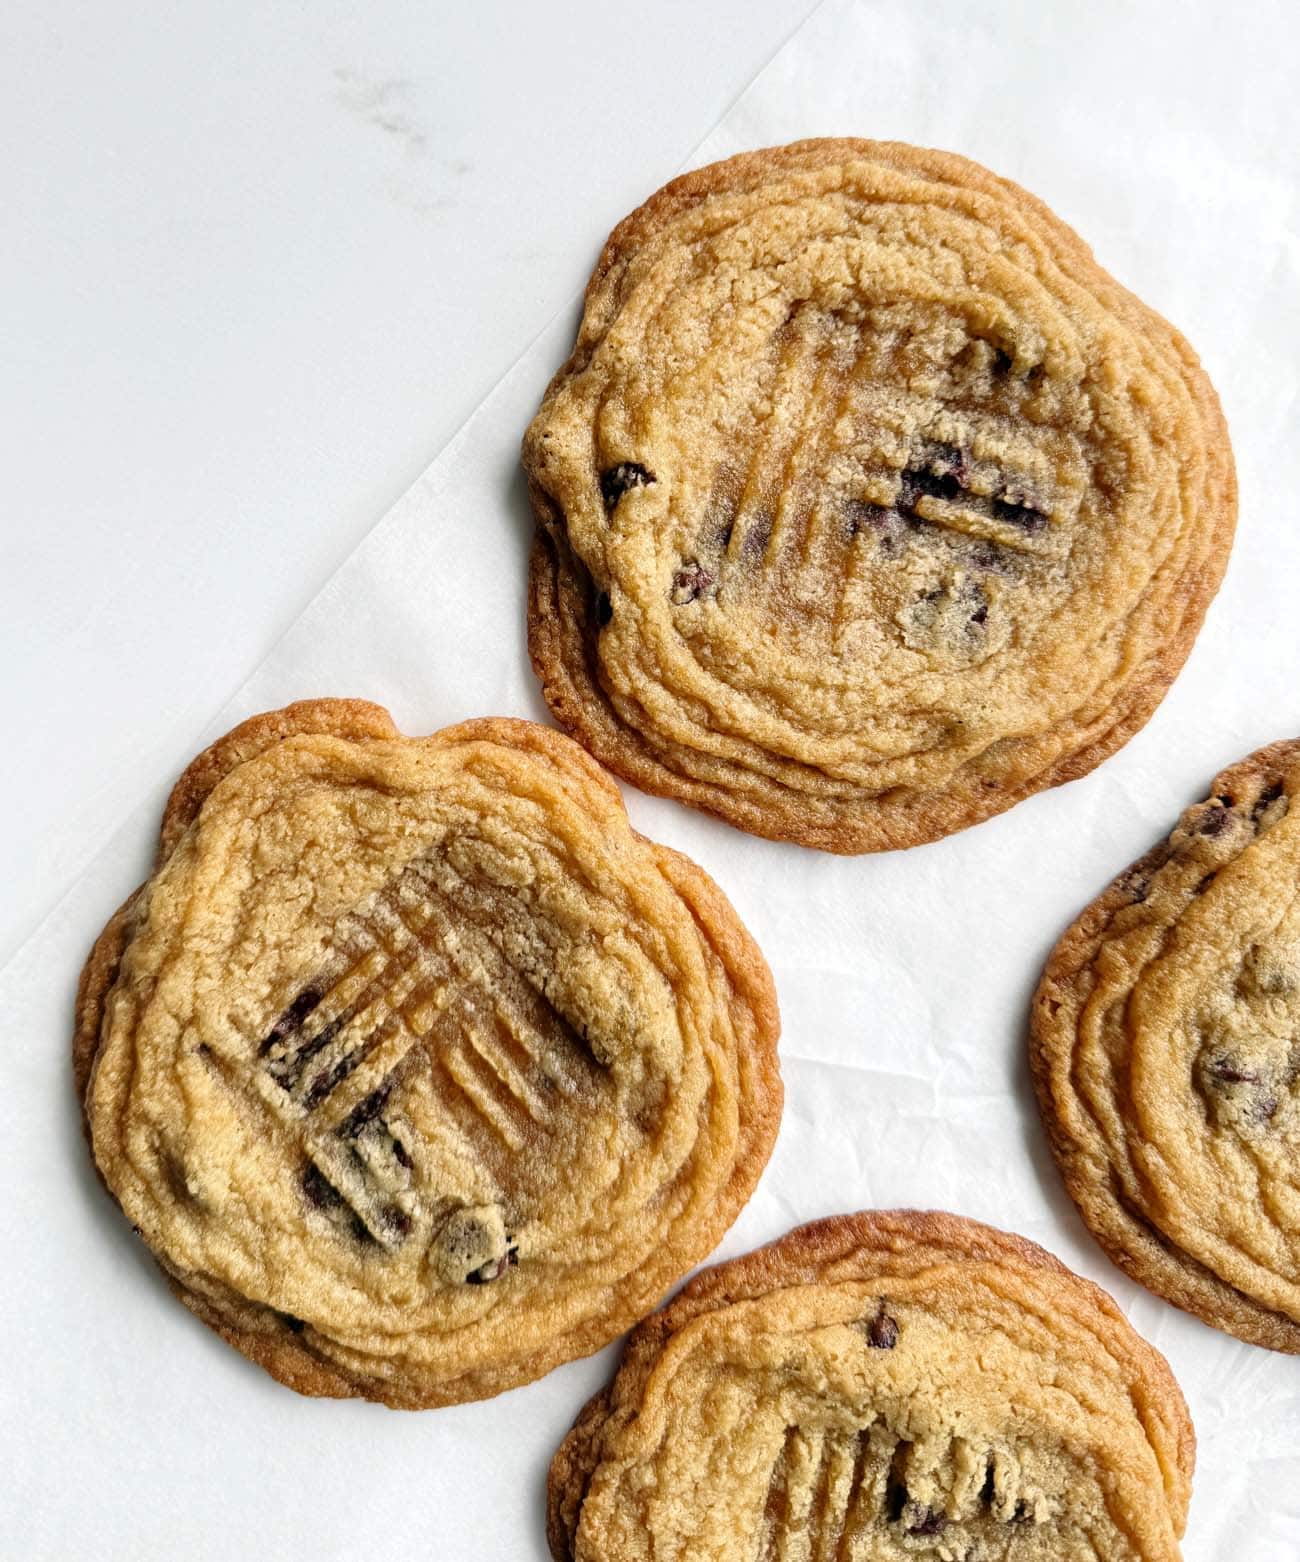
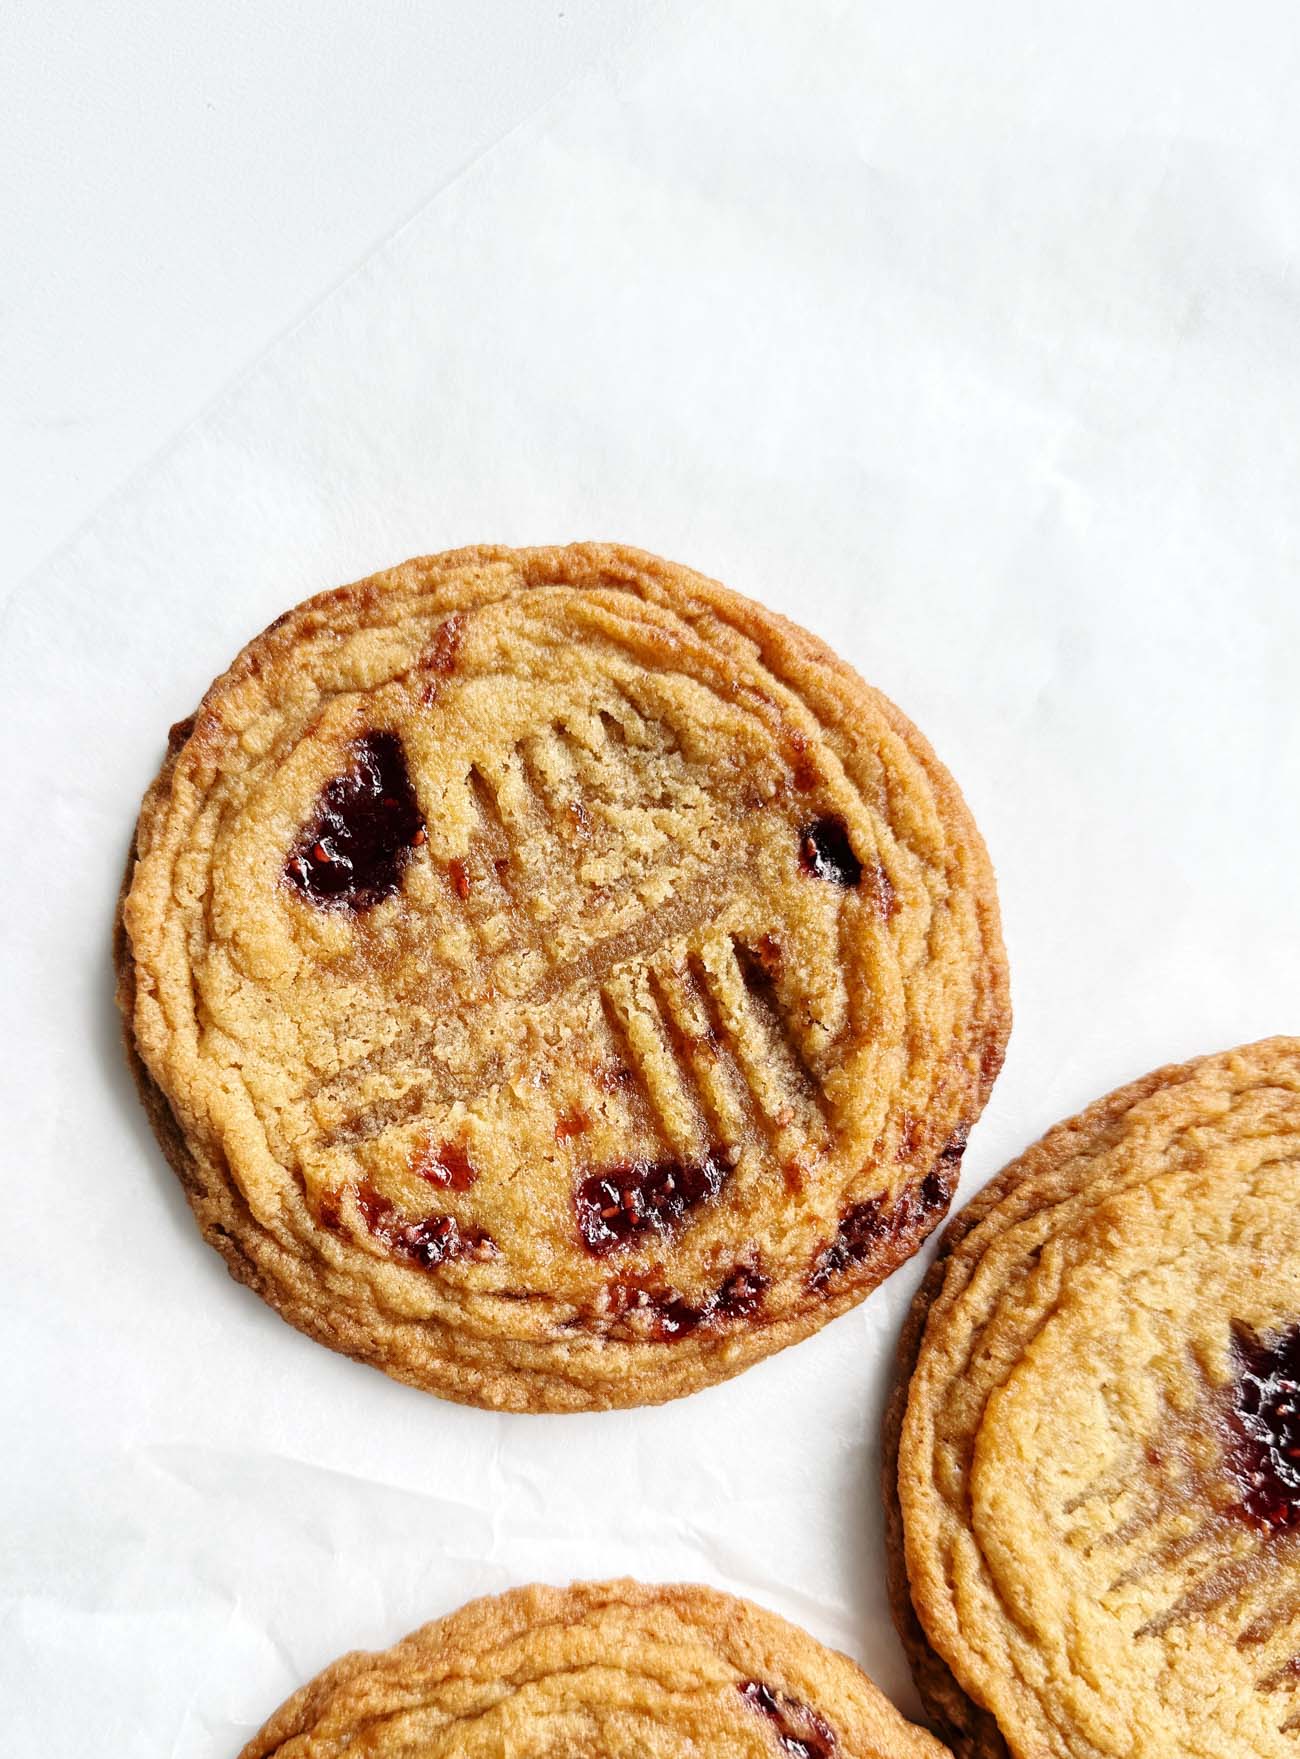
Chocolate is optional here, and there is a variation for peanut butter and jelly cookies in the notes.
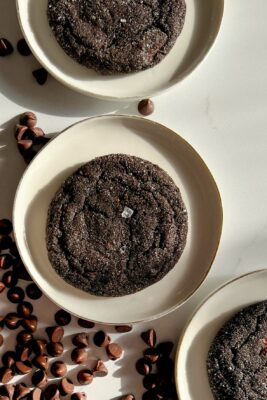
I also have many other recipes for pan-banging cookies: try Sesame Chocolate, Ginger Molasses, and Red Velvet.
Some tips and tricks for making these cookies:
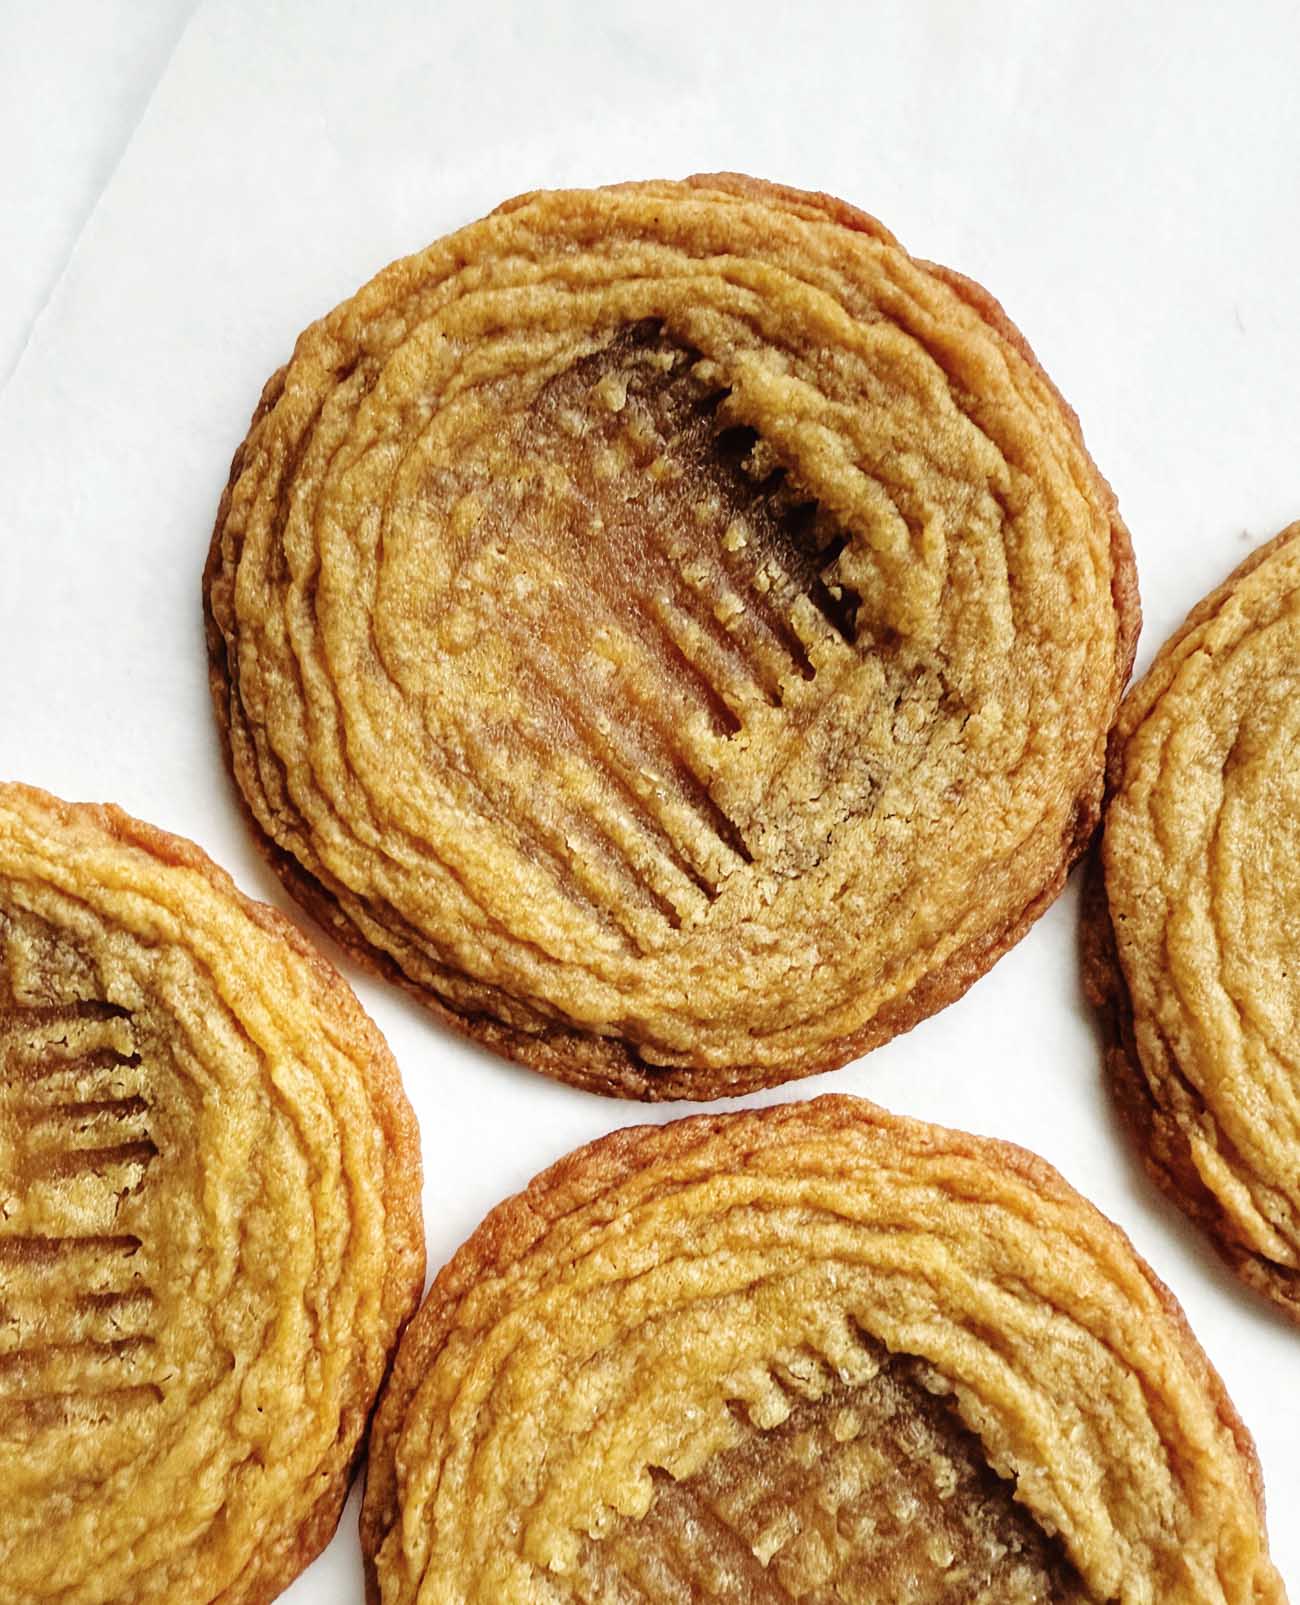
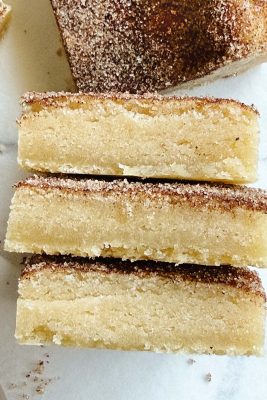
Pan-banging? Bakers tapping their cookie pans in the oven isn’t new, of course, but the banging technique I use here is unique in that the pan is tapped in the oven every few minutes, creating ripples on the edge of the cookie. This creates two textures in the cookie: a crisp outer edge, and a soft, gooey center.
Why won’t my cookies ripple/wrinkle? I’ve found that flour can often be the culprit, and it seems that high-protein flour won’t allow for as much spreading and wrinkling. I use Gold Medal Unbleached All-Purpose Flour in my cookies, and find that works best.
Why are my cookie bottoms greasy? I prefer to think of the cookies as “exceptionally buttery”. There is extra butter in these cookies, which helps them spread, and crisp on the bottom. I remove my cookies from the pan when they are cool enough to handle, and let them continue cooling on a wire rack, which helps them stay crispy.
Can I refrigerate my cookie dough? Cookie dough can be refrigerated overnight before using. Shape the dough into balls and cover with plastic wrap before chilling, and then bring it to room temperature before baking (when the cookies are chilled solid, they won’t ripple as well). Cookies that spend a night in the fridge will also have a more developed flavor, but also have a bumpier finish.
What if I can’t fit my baking sheet in my freezer? It’s okay! You can put the dough balls on a small plate and freeze them, then transfer them to the baking sheet when you are ready to bake.
Do I have to bang the pan outside the oven? No, you don’t! As stated in the recipe, I lift the side of the baking sheet up about 4 in [10 cm] and gently let it drop down against the oven rack, so the edges of the cookies set and the inside falls back down.
Pan-banging Creamy Peanut Butter Cookies
Ingredients
- 14 tablespoons [196 g] unsalted butter, at room temperature
- 1 1/2 cups [300 g] granulated sugar
- 1/4 cup [50 g] brown sugar
- 3/4 teaspoon fine salt
- 1/2 cup [107 g] creamy peanut butter, see notes
- 1 tablespoon pure vanilla extract
- 1 large egg
- 2 tablespoons water, at room temperature
- 3/4 teaspoon baking soda
- 1 3/4 cups [250 g] all-purpose flour
- 3 oz [85 g] semi-sweet or bittersweet chocolate, chopped, or chips, see notes
Equipment
Instructions
- Line three sheet pans with aluminum foil, dull-side up, or parchment paper.
- In the bowl of a stand mixer fitted with a paddle, beat the butter on medium speed until creamy, about 1 minute. Add the granulated and brown sugars and salt and beat on medium speed until light and fluffy, 2 to 3 minutes. Add the peanut butter and vanilla and mix again on medium speed until fully combined. Add the egg and water and mix on low speed until combined, then add the baking soda and mix again. Add the flour and mix on low speed until combined. Add the chocolate, if using, and mix on low until distributed evenly.
- Form the dough into 3 oz [85 g] balls (1/4 cup) and place 4 dough balls an equal distance apart on a prepared pan and transfer it to the freezer for 20 minutes while the oven preheats.
- Adjust an oven rack to the middle of the oven. Preheat the oven to 350F [180C].
- After you put the first baking sheet in the oven, put the second one in the freezer.
- Place the chilled baking sheet in the oven and bake until the dough balls have spread flat but are puffed slightly in the center, about 10 minutes. Lift one side of the sheet pan up about 4 in [10 cm] and gently let it drop down against the oven rack, so the edges of the cookies set and center falls back down. After the cookies puff up again in 2 minutes, repeat lifting and dropping the pan. Repeat a few more times to create ridges around the edge of the cookie. Bake for 14 to 16 minutes total, until the cookies have spread out and the edges are golden brown but the centers are much lighter and not fully cooked.
- Transfer the pan to a wire rack. If desired, spray a fork with pan spray and gently make a criss cross pattern in the center of the cookie. Let the cookies cool for 10 minutes, then move from the pan to a wire rack to finish cooling. Store cookies in an airtight container at room temperature for 2 days (or refrigerate for up to 3 days).
10 Comments
Bree
Saturday, November 1, 2025 at 9:42 pmmy cookies really spread, any idea why? the dough did feel quite soft, so soft i had to put in fridge before i could roll
into bowls? when your dough is recognizably to soft , what do you do? add more flour?
Sarah Kieffer
Tuesday, November 4, 2025 at 7:03 pmHi Bree – the cookies are meant to spread quite a bit! They are supposed to be very large, thin cookies with crisp, wrinkly edges. But the dough shouldn’t have been so soft you can’t roll it. What kind of peanut butter did you use? And did you weight your ingredients? It sounds like maybe there wasn’t enough flour in the cookies?
Penny
Wednesday, October 29, 2025 at 2:15 pmGreat cookie! I agree with another comment that the peanut butter flavor could have been stronger but I also will take the texture over the more pronounced flavor. I can’t wait to try your other pan-banging cookie recipes!
Karen P
Sunday, October 26, 2025 at 5:27 pmHi. The standard weight of one cup of brown sugar is 200 g.
So, 1/2 cup would be 100 g. In this recipe, it says 1/2 cup brown sugar (50g).
Which is it…..1/2 cup by volume, which would be 100 g by weight.?……
.or…..50 g by weight, which would be 1/4 cup by volume?
This recipe looks wonderful and i am suddenly craving a peanut butter cookie .
Thanks,
Karen
Sarah Kieffer
Sunday, October 26, 2025 at 8:13 pmHi Karen! It’s 1/4 cup [50 g] of brown sugar. Sorry about the mistake! I just fixed the recipe.
Beth
Thursday, October 23, 2025 at 7:04 pmI don’t have a stand mixer. Can I still make these?
Erin
Wednesday, October 22, 2025 at 10:27 pmClarifying question for these – is the peanut butter to regular butter ration supposed to be that lopsided in the favor of regular butter? I’m excited to make these but that’s the lowest amount of peanut butter I’ve seen in a recipe for peanut butter cookies and I just wanted to make sure there’s not a typo! Thank you!
Sarah Kieffer
Sunday, October 26, 2025 at 12:13 pmSarah Kieffer
Sunday, October 26, 2025 at 8:16 pmIt’s correct! These cookies are supposed to spread, which is why they have so much butter. And the peanut butter flavor does come through.
Erin
Monday, October 27, 2025 at 8:55 pmI made them last night and they were amazing! While I think that a touch more peanut butter flavor would have been cool, the texture was sublime and so the trade-off of a more muted (but still very much there) peanut butter flavor was absolutely worth it! Thanks so much for this recipe cause it will definitely end up in my forever recipe box and I’m planning to annotate the recipe in 100 Cookies book to note the changes from here.